Level 1 - In front of the Ravencroft prison
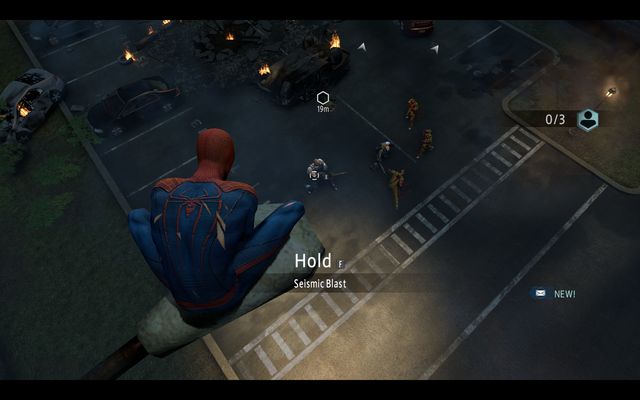
The Parking lot copyright by wear team
First of all, eliminate the Brute and four remaining opponents, at the parking lot. The quickest way to do that is by using the Seismic-Blast on the group and pinning them down to the ground.

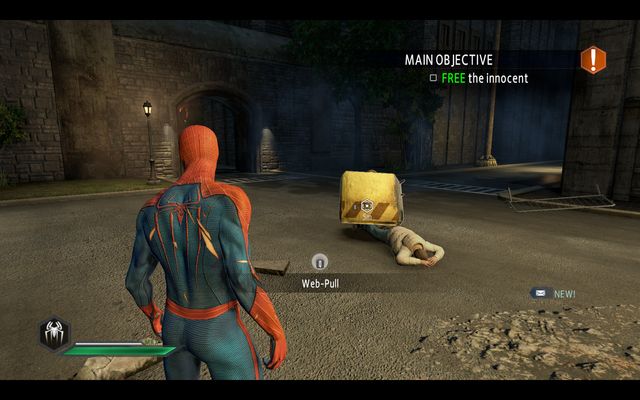
Free the civilian copyright by wear team
Under the overturned car, there is a civilian. Use Web-Pull to free him.

Another victim copyright by wear team
After you defeat more opponents, past the prison gate, free another civilian by freeing his legs from under the object.

Upgrade crate #1 copyright by wear team
Behind the wall, on the left, on the tree, there is upgrade crate.
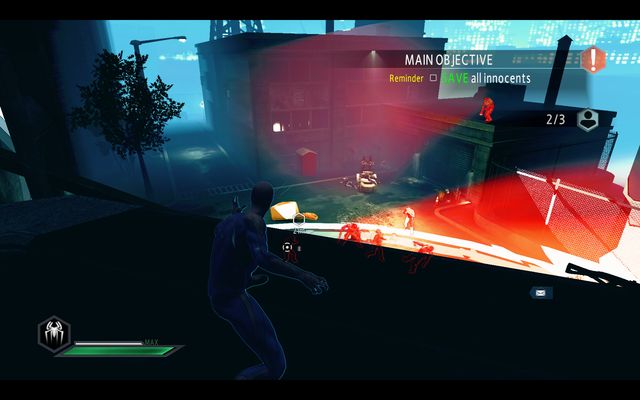
The second parking lot copyright by wear team
Get to the second parking lot. First of all, deal with the two snipers on the rooftops, by attacking them by surprise. Then, deprive the guards of their weapons and deal with them. Once your health bar runs low, dash away, to a rooftop, and heal.
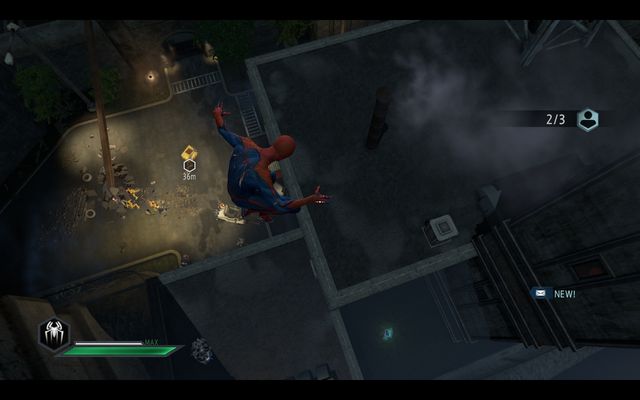
Upgrade crate #2 copyright by wear team
The second upgrade crate is behind the building, in front of which you fought the third group of opponents.
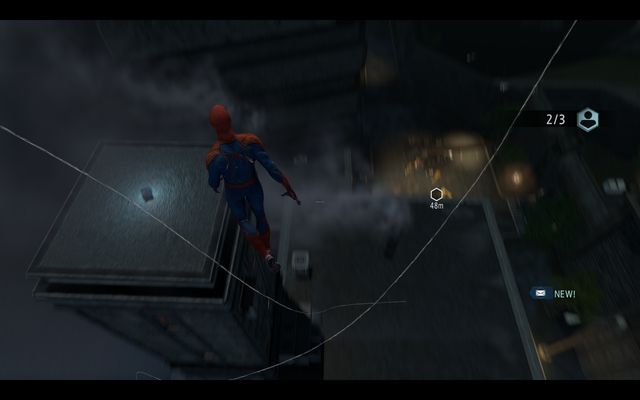
Upgrade crate #3 copyright by wear team
On the tower above the buildings, you will find another - third crate.
Free the third civilian copyright by wear team
In the middle of the square, there is the last, fourth, civilian. Remove the obstacle, which will start a short cutscene.

The prison yard copyright by wear team
On the yard, over the wall, there is another target that you need to protect. Use the Seismic-Blast and entangle the opponents quickly to eliminate them as quickly as possible.
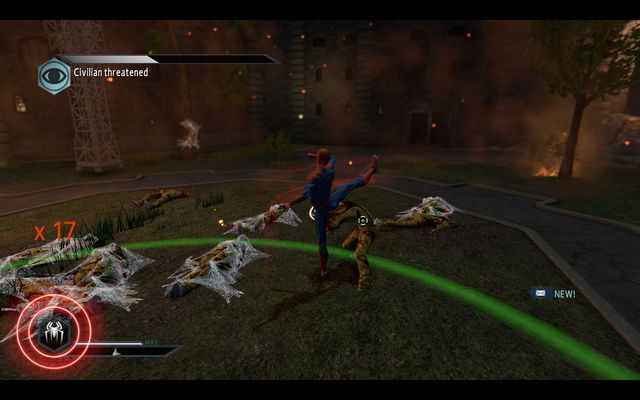
Fight inside the circle copyright by wear team
During the fight, you need to stay in the middle of the circle. If you leave it, the bar in the upper-left corner will start to fill up. Once it is full, you will lose.
Level 2 - The interior of the building
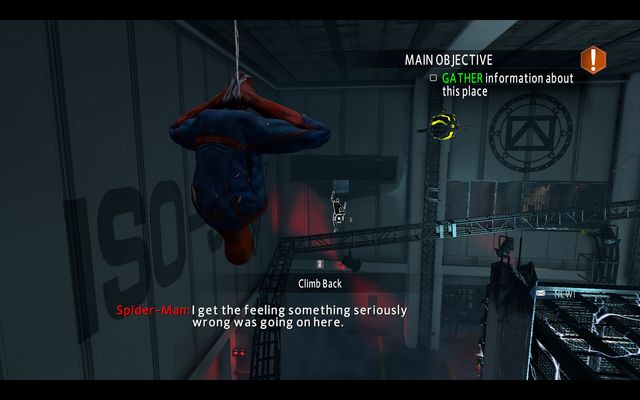
The venting shaft copyright by wear team
After you enter the underground, walk over to the shaft on the wall.
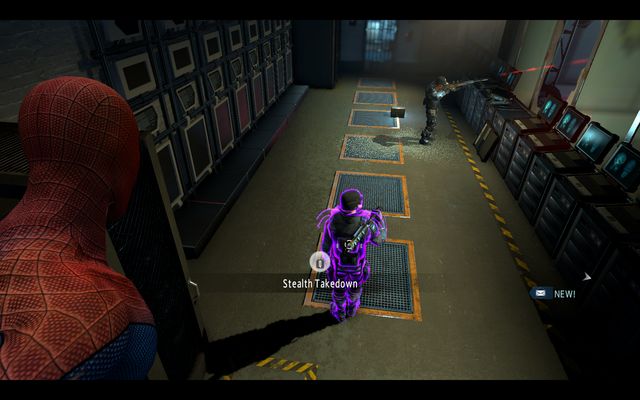
Snipers and upgrade crate #1 copyright by wear team
At the end of the shaft, you will find two snipers. Take them out, quietly, and collect upgrade crate #1 in the middle of the room.
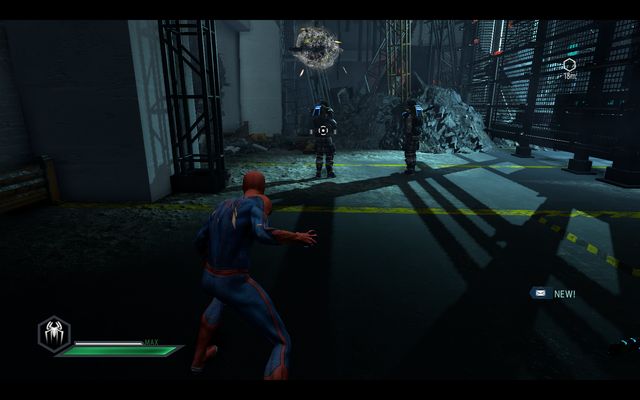
Guards at the ground floor copyright by wear team
Climb over the window outside and climb onto the scaffolding. Deal with the guards who are patrolling below. Then, go ahead, where there are two more guards, facing away that you need to take out.
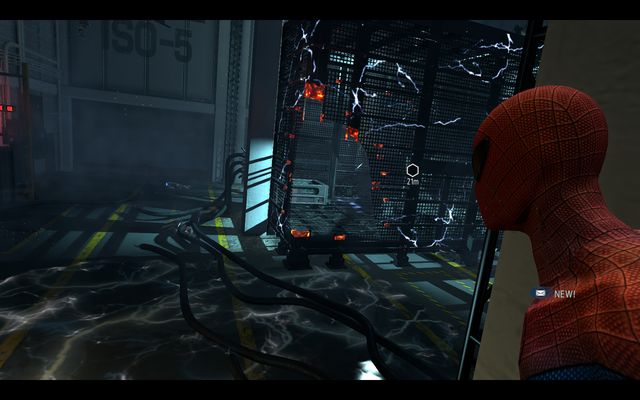
Audiolog #21 copyright by wear team
Over the wall, reach the spot where you can see a puddle of water, wired to electricity. From there, you will notice an entrance to the cage. The Audiolog is inside.

A rip in the wall copyright by wear team
At the end of the room, you will notice an element of the structure, stuck in the wall. Pull it to open the way for yourself.
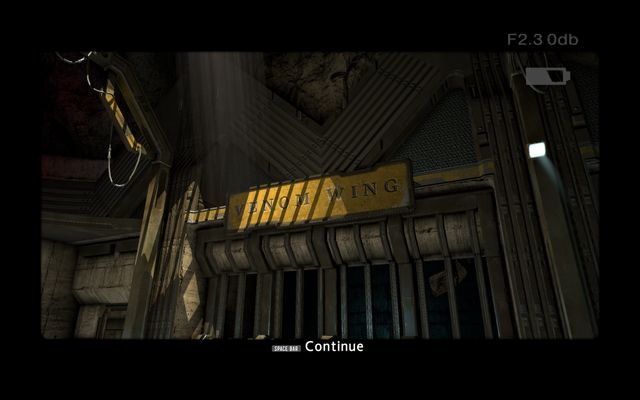
Jameson's Photo #8 copyright by wear team
Follow the corridor, by jumping between the wall and the rocks and watch out for the mines. Finally, you will notice the yellow sign, reading "Venom Wing" on the right - take Jameson's Photo #8 of it.

Jump into the opening in the wall
At the end of the corridor, you will notice an opening in the wall, which you need to jump into.
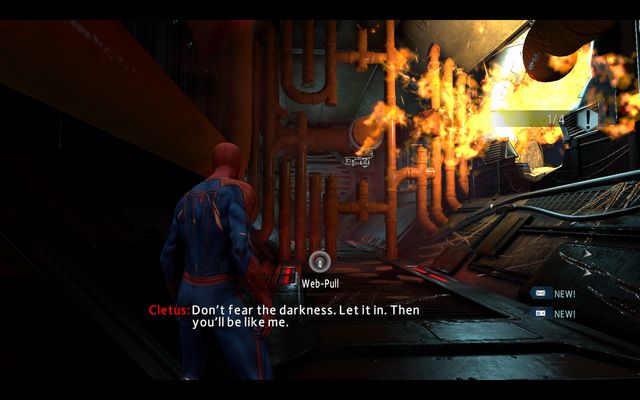
The flame activating lever copyright by wear team
Along your path, you will notice pipes and fire. Use Web-Pull on the lever at the wall, to cut off the fuel. Then, cling to the wall and crawl over to the other side. In a similar way, you need to use a lever later on at this level, to destroy the tentacles clinging to the wall.
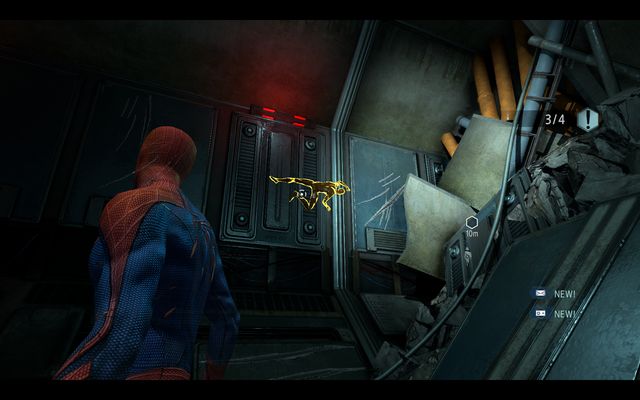
The passage point copyright by wear team
Once you reach the end of the corridor, you will notice a collapsed passage. To get past this point, cling to the wall on the left and crawl over to the other side.
Boss - Carnage

Cletus Kasady copyright by wear team
At the beginning of the battle, you need to deal with Cletus Kasady. The lack of the health bar is due to the fact that you will defeat this opponent with a few blows only.

The flame levers copyright by wear team
You can switch several levers beforehand. Thanks to this, there will appear flames, next to them. This will prove helpful, later into the battle.

The opponent on a pole copyright by wear team
Once you deprive the opponent of several health points, he will start jumping from pole to pole, around the arena. You can knock him down with the Seismic-Blast. It is best, if you start fire all around the arena, beforehand. Thanks to this, the opponent will fall straight into the flames, which will deal lots of damage to him.
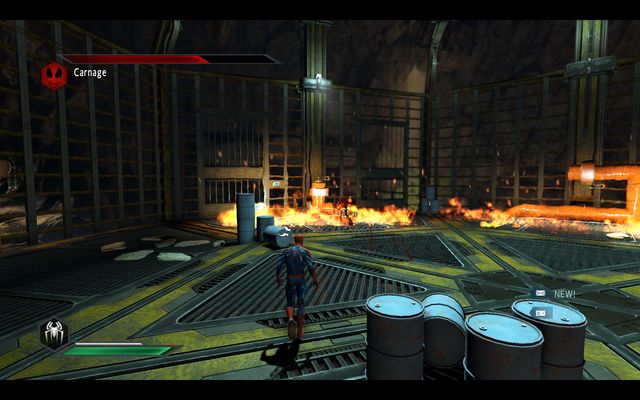
Carnage on fire copyright by wear team
A moment after you use the Seismic-Blast, you can get away and heal yourself, because the opponent will stay in flames, for some time. In the case of the charge, you can stand in a way, in which there are barrels between you and Carnage. They will explode as soon as he slams into them, which will deal more damage to him.

The smaller opponents copyright by wear team
At two moments - when the opponent's health drops to a half, and also to a third, there also will appear smaller opponents in the arena (one at the first time and three at the second time), who will be attacking you on the ground, while Carnage is shooting from the poles. Attack them with a jumping attack to throw them towards the flames, to which they are as vulnerable as the boss. After you have eliminated them, you only need to land several blows to the boss, which ends the battle.